Basket
0
From Scrap to Soil: The 7-Step Guide to Starting a Worm Bin
Starting a vermicompost system might feel like a significant undertaking, but it is one of the most rewarding processes a household can adopt. It is more than just waste disposal; it is the creation of a sustainable ecosystem right in the kitchen or garden. It reduces a carbon footprint, enriches the soil, and, truthfully, it is simply good fun.
It is like starting a new hobby, only this one comes with a few thousand wriggly participants. (My children particularly enjoy telling their teachers that they have "thousands of pets" at home, which usually raises a few eyebrows).
As much as one might want a foolproof, rigid list of instructions, biology rarely works that way. Variables like humidity, temperature, and worm species all play a role. However, the process need not be daunting. By following these seven steps, the path to a successful worm bin becomes clear.
Step 1: The Real Estate (Choosing the Bin)
When selecting a home for the worms, the rule of thumb is simple: go as large as possible. In the world of vermicomposting, surface area is king. Worms prefer to work in the top 6 inches of the bedding. However, a bin at least 12 inches deep is a wise insurance policy; if conditions at the top deteriorate, the worms have a safe place to burrow until order is restored.
While there are many bespoke worm farms on the market, recycling is often the better route. Facebook Marketplace and Freecycle are treasure troves for old storage crates. To keep things simple, let's assume we are using a standard 45-litre plastic storage box.
A note on light: Always choose an opaque box (black or solid colour). Worms are photophobic; light stresses them out and forces them to burrow, disrupting the composting process. If a transparent box is the only option, it is best to wrap it in a dark material to block light.
Finally, keep the lid on. Worms are generally content, but if conditions drop below their standards, they may decide to migrate. There are few things more startling than coming downstairs for a morning coffee, eyes half-open, only to find a thousand worms exploring the kitchen floor. It is a scenario best avoided.
Step 2: Preparing the Habitat
Turning a plastic box into a habitat requires three things: airflow, bedding, and life.
First, drill ventilation holes around the top of the box. Aim for a 3mm drill bit — large enough for air, but small enough to prevent an escape. Handle gently to avoid cracking the bin.
Next, add the bedding. Coco coir is an excellent base, ideally mixed with a little compost from a previous bin or a shop-bought bag to make it welcoming. Shredded corrugated cardboard is also essential; the worms love munching through the glues and fibres. Ensure the bedding is saturated but not dripping — think of the consistency of a wrung-out sponge.
Pro Tip: Add a handful of garden soil to the mix. This inoculates the bin with beneficial microbes, springtails, and nematodes, kickstarting the ecosystem. However, if the idea of bringing "creepy crawlies" indoors is too much, this step can be skipped.
Step 3: Introducing the Workforce
If you need worms, we sell a high-quality mix of Dendrobaena and Eisenia fetida. While some purists advocate using Tiger Worms (Eisenia fetida) exclusively, we find that a mixed population best reflects natural conditions. We also stock Red Worms, which are ferocious eaters and breed rapidly.
(We ship via Royal Mail Tracked 24, so if ordered in the morning, your new team should arrive the very next day.)
The Move-In Process:
- Pour the worms onto the bedding surface.
- Leave the lid off for a short while. The light will encourage them to burrow into the dark, safe bedding.
- Once they are underground, place a sheet of dry corrugated cardboard over the top, then replace the lid. This cardboard acts as a moisture shield and discourages them from climbing the walls.
- The Settling Period: Check on them after 24 hours. If they are climbing the sides, gently mix them back into the bedding. Repeat this for a few days until they settle.
Step 4: The First Feed
This is the main event: recycling the waste.
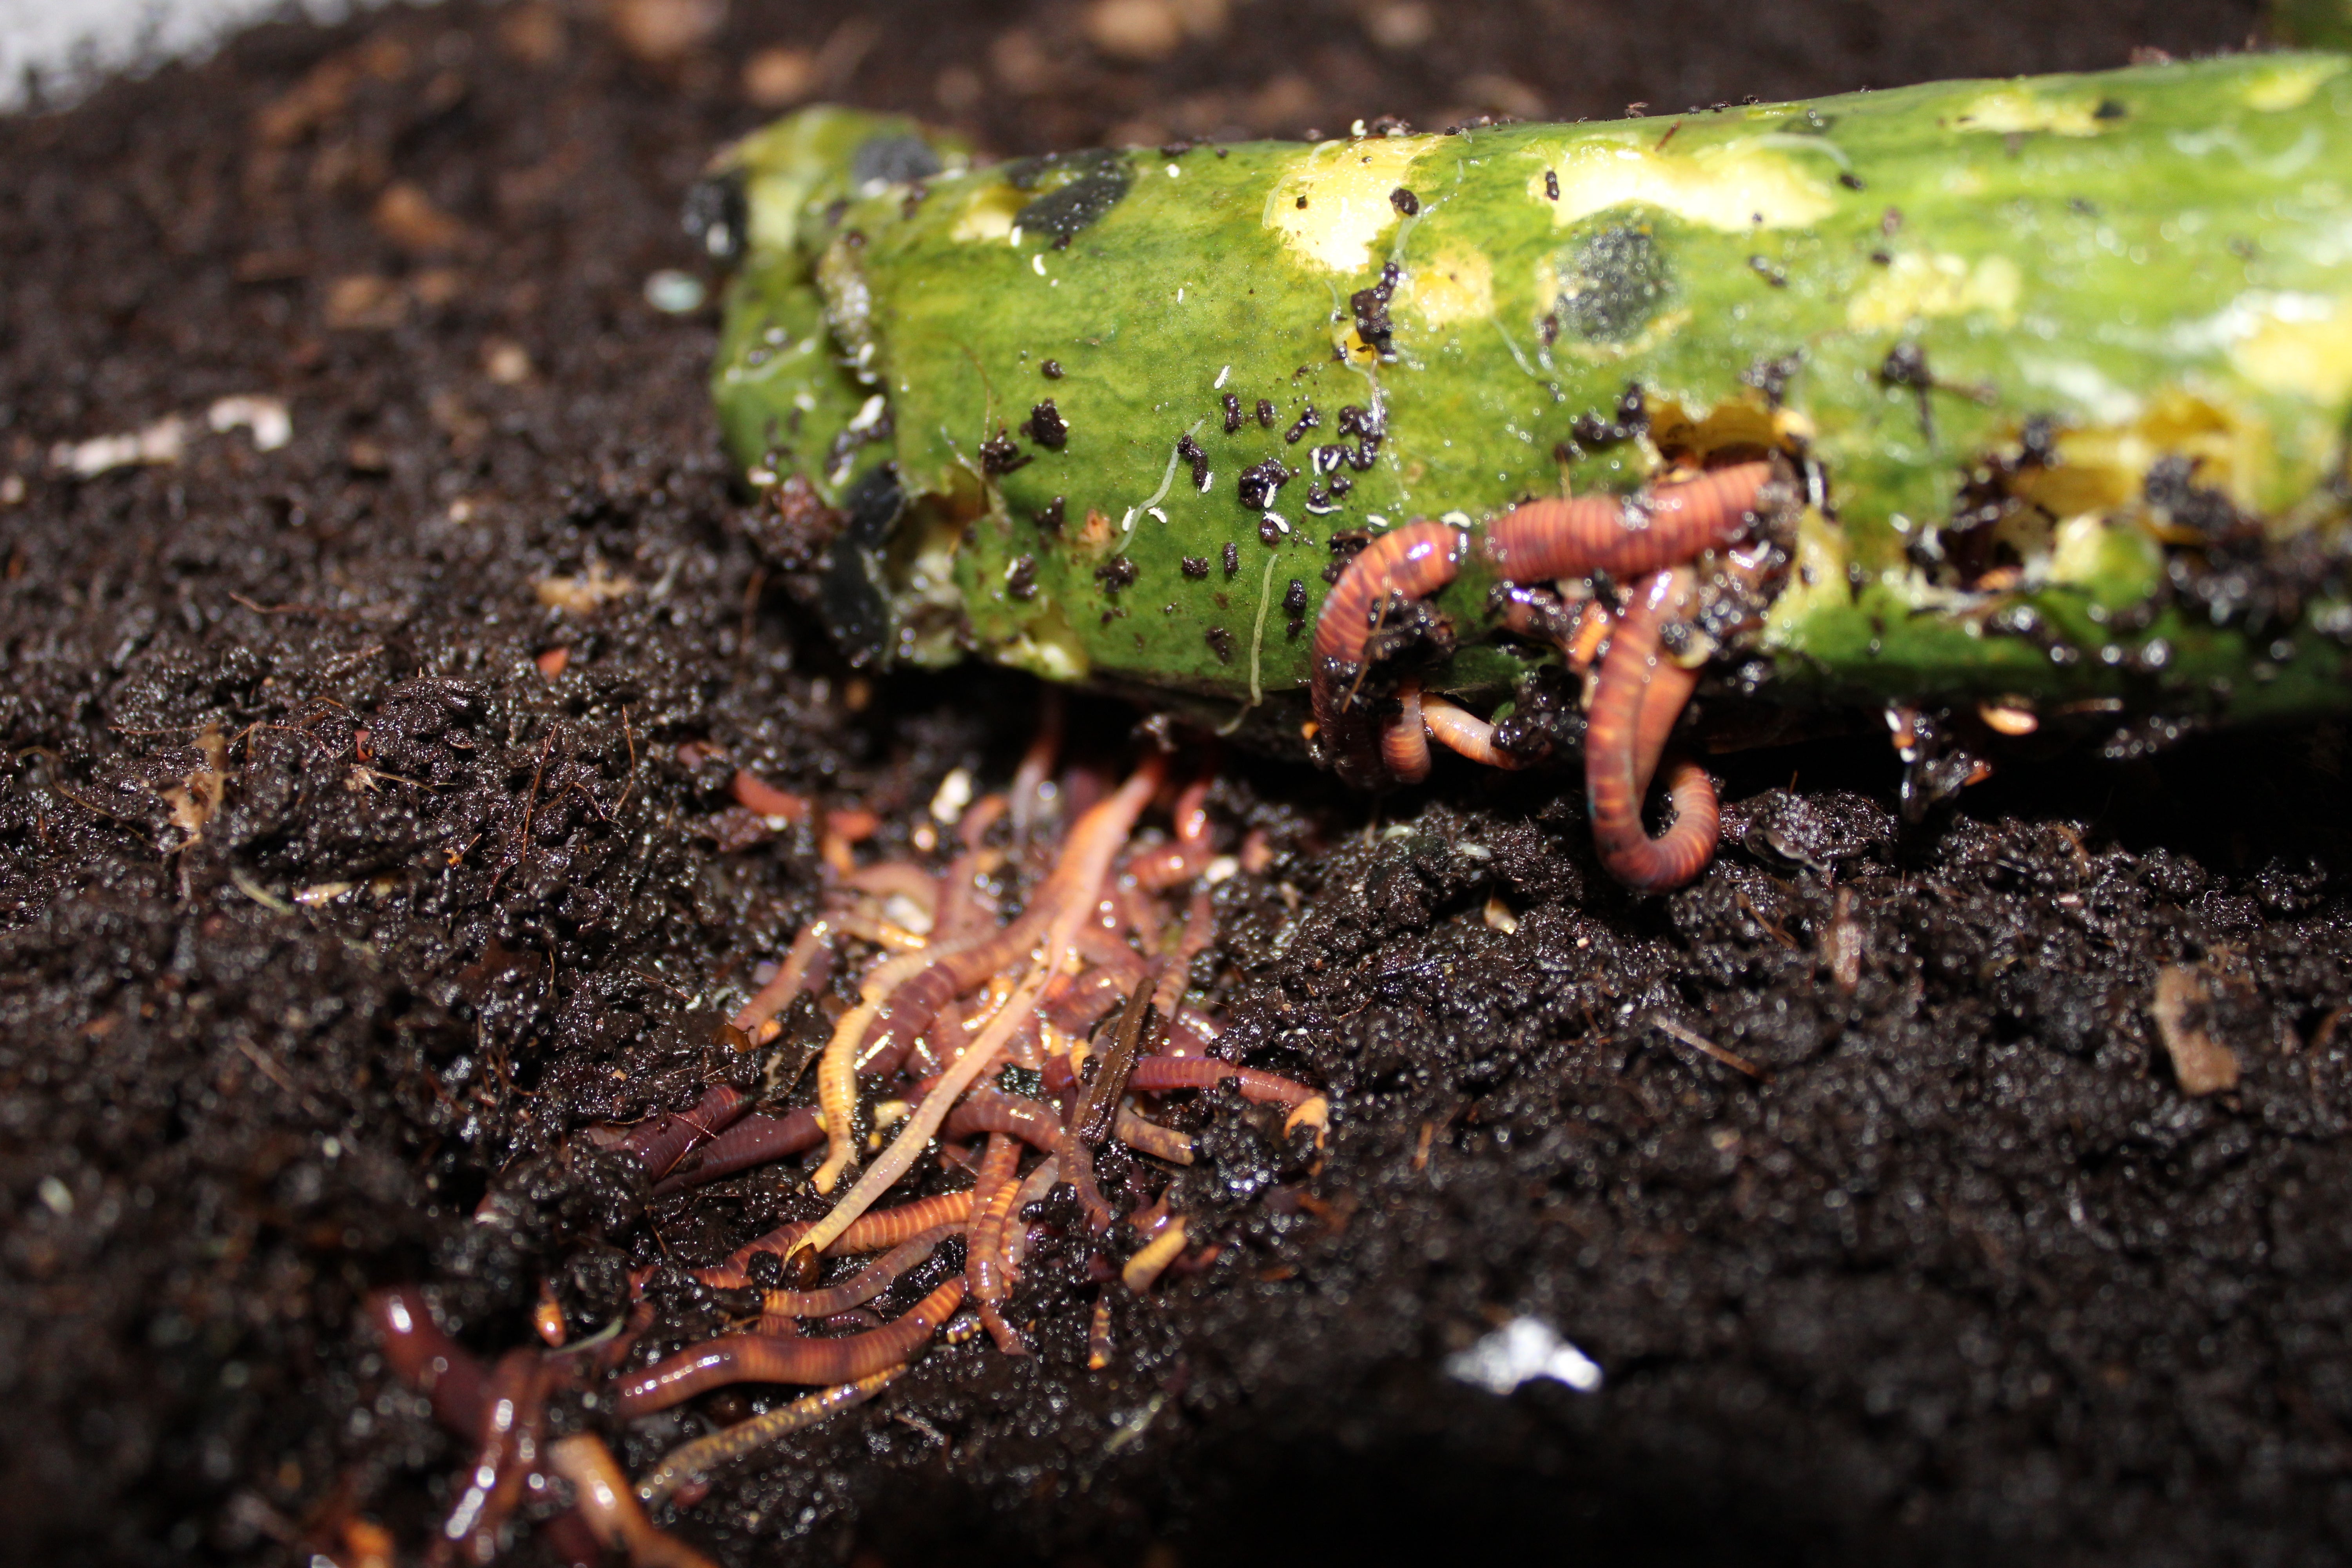
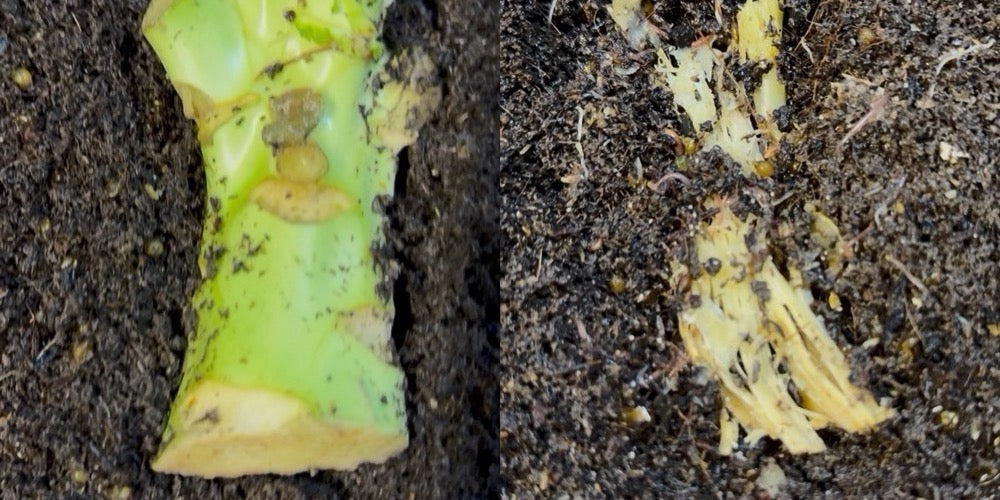
Worms do not have teeth. They rely on bacteria and fungi to soften the food before they can consume it. Therefore, the smaller the food scraps, the faster the process. Some people use a blender; others simply chop with a knife. For the sake of simplicity (and not using unnecessary electricity), chopping food into small chunks works perfectly fine.
The Menu:
- YES: Fruit and veg scraps, coffee grounds, tea (plastic-free bags only), and crushed eggshells.
- NO: Meat, dairy, and oils (these attract pests).
- MAYBE: Citrus and onions. Some say avoid them, but we find them acceptable in moderation if chopped finely.
Crucial Rule: Always add dry cardboard with every feeding to soak up excess moisture. You want compost, not sludge.
Want to speed up the process and fatten your worms at the same time? Our premium worm food is a high-protein blend that gives the bin a real boost between kitchen scraps.
Step 5: The Feeding Routine
Is there a magic formula for how much to feed a worm? No. Every bin is different.
Textbooks will say: "Wait for the previous food to disappear before adding more." The Reality: If the bin is kept indoors, follow the textbook. It prevents smells and flies. However, for outdoor bins, one can be a little more lenient. We often fill our outdoor bins layer by layer without waiting, and they thrive — though this method does attract a few more flies, which is why we don't recommend it for the kitchen.
Step 6: Maintenance and Troubleshooting
A healthy bin should smell earthy and fresh. If it smells like a drain, something is wrong.
The Checklist:
- Moisture: If it's dry, mist it with water. If it's wet, add more dry cardboard. (Mantra: You can never have too much cardboard).
- Temperature: They are happiest between 13°C and 25°C. They can survive cooler UK temperatures, but ensure they don't freeze.
- Airflow: Gently stir the bedding every few weeks to keep it aerated.
Troubleshooting:
- Bad Odour: Usually overfeeding or poor drainage. Stop feeding and add browns (cardboard).
- Escaping Worms: The bin is likely too wet or too acidic. Add crushed eggshells to balance the pH.
- Fruit Flies: Bury the food scraps deep under the bedding rather than leaving them on top.
Step 7: The Harvest
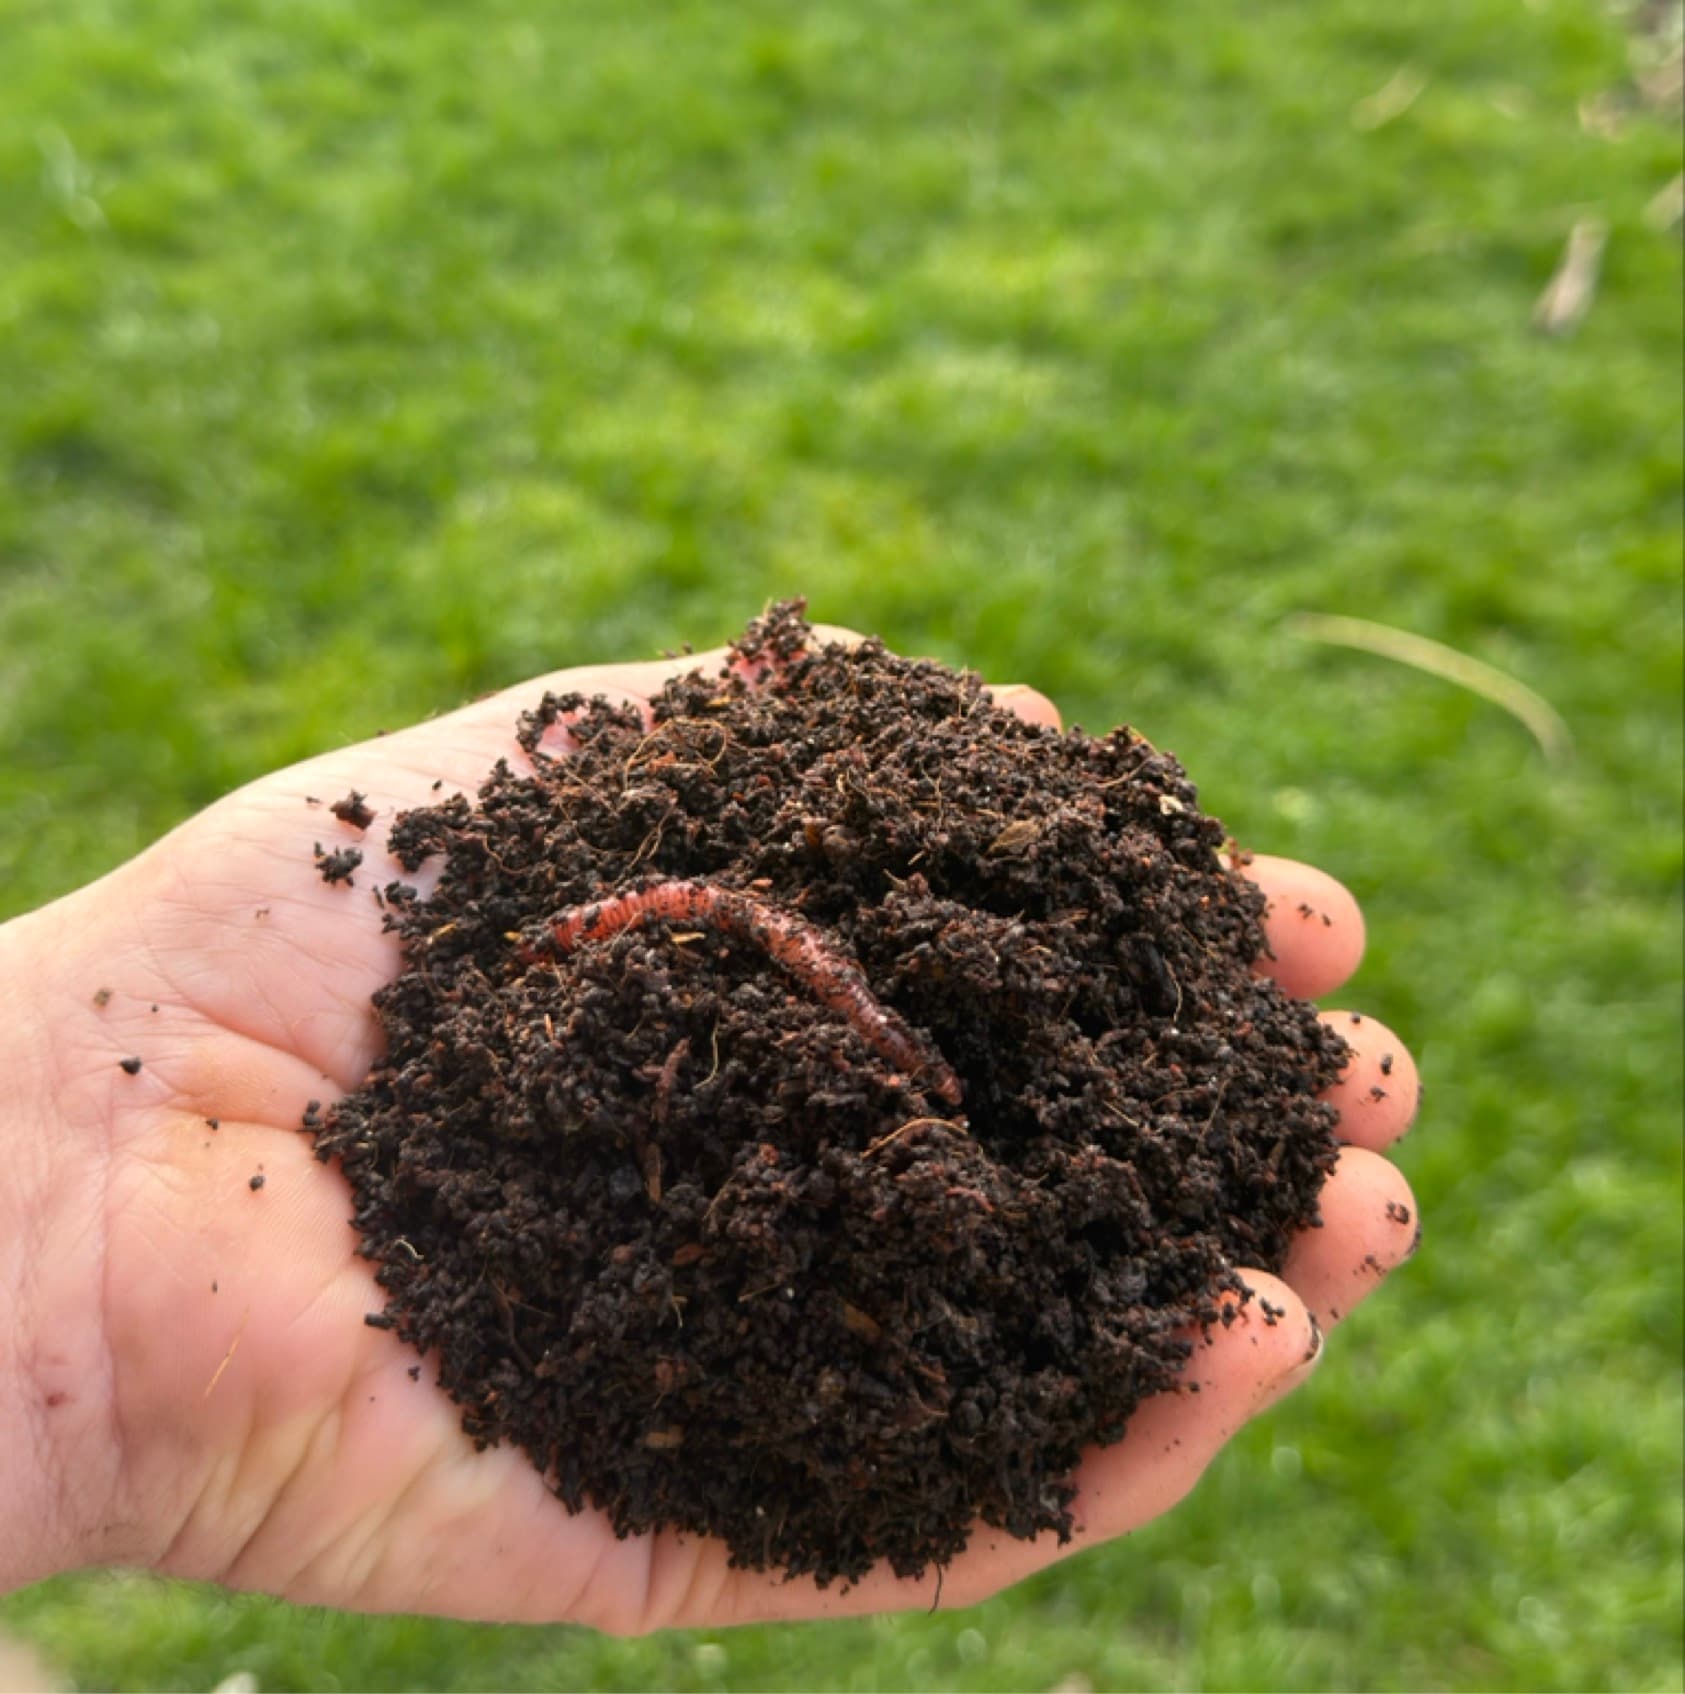
After 2–3 months, the bedding and scraps will have transformed into dark, crumbly "black gold." There are two ways to get it out.
Method 1: The Side-to-Side Migration (The Easy Way) Push all the finished compost to one side of the bin. Fill the empty side with fresh bedding and food. Over the next week, the worms will migrate to the new food, leaving the finished compost behind for you to scoop out.
Method 2: The Light Separation (The Fast Way) Dump the bin contents onto a tarp under bright light (or the sun). The worms will dive down to escape the light. Scrape off the top layer of compost, wait a few minutes for the worms to dive again, and repeat. Eventually, you are left with a pile of worms and a pile of compost.
Conclusion
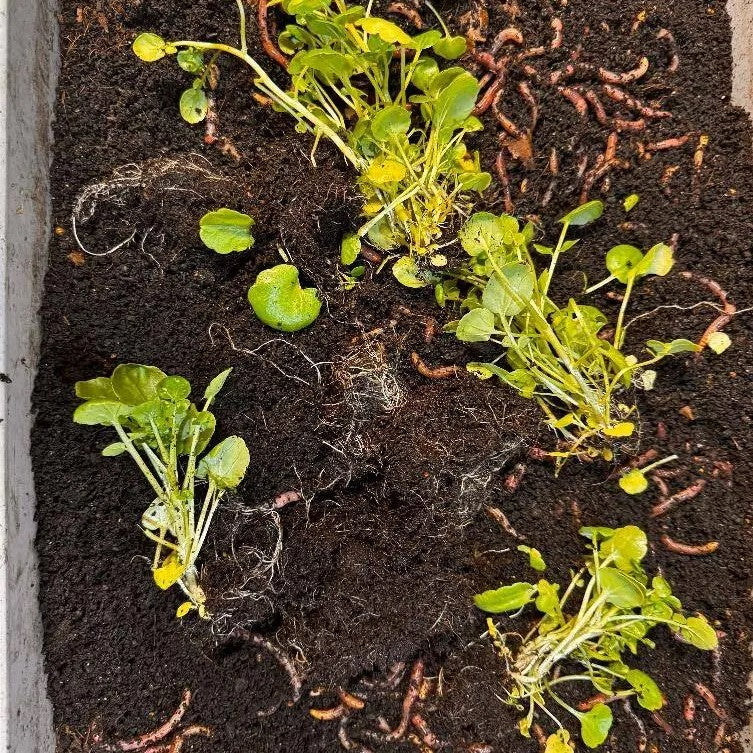
Vermicomposting is a low-cost, high-impact way to close the loop on food waste. It stops organic matter from rotting in landfill and instead turns it into a premium fertiliser for the garden.
Whether you do it for the environment, for the garden, or to tell people you have 5,000 pets, it is a journey worth starting. When you're ready to get going, pick up your composting worms here — dispatched fresh from our Yorkshire farm with a live arrival guarantee.