Basket
0
How to Breed Your Own Axolotl Food at Home (And Save a Fortune Doing It)
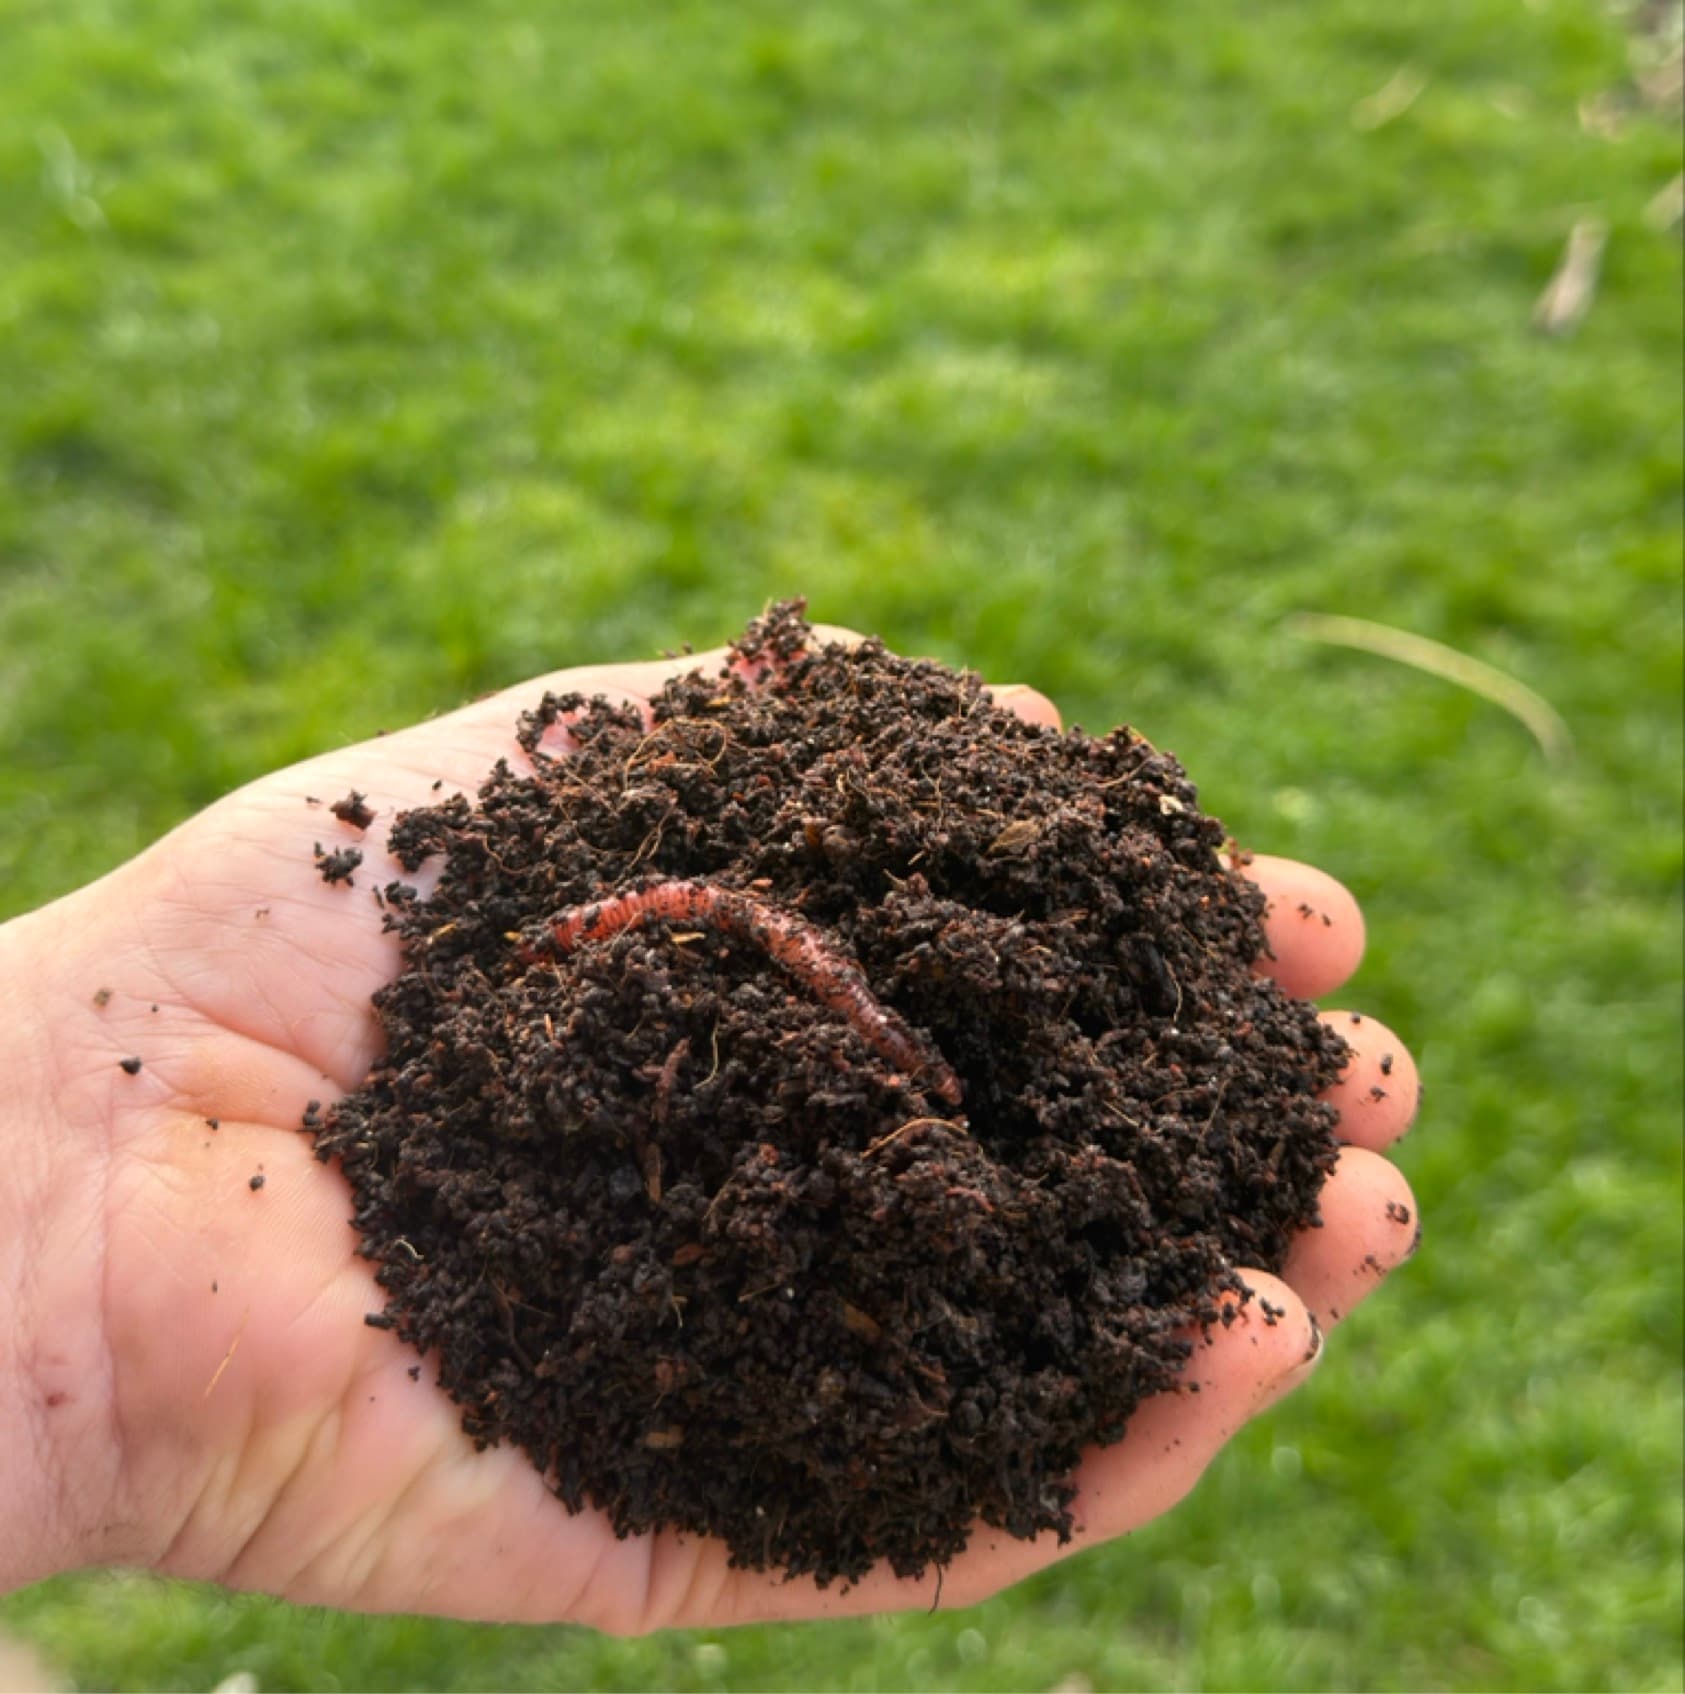
Live worms are the gold standard of axolotl food. Every axolotl keeper knows it. Vets know it. Breeders know it. The problem is that buying them regularly adds up, especially if you have more than one animal, or an axolotl with the appetite of a particularly enthusiastic Labrador.
So what if you could grow your own? Not in some complicated, expensive setup that takes over your garage (although be warned, it can be an addictive hobby), but in a simple, low-maintenance mini wormery that runs itself in a corner of your utility room and quietly produces a steady supply of live Dendrobaena worms for your axolotl, week after week.
That's exactly what this guide is about. I'm going to walk you through everything: the kit you need, the setup, the feeding, the timeline, and the common mistakes that trip people up. By the end, you'll know whether a home wormery makes sense for you, and if it does, exactly how to get one started.
|
HEADS UP A home wormery won't replace buying worms entirely — at least not straight away. It can take 6 months for worms to go from cocoon to full-sized adult, so a bit of patience is needed, but before you know it, you will be harvesting regularly. In the meantime, you'll still need to buy live worms to keep your axolotl fed. We'll come back to this. |
Why Bother? The Honest Maths
Let's be straight about this. A home wormery isn't for everyone. If you have one axolotl and you're happy to spend a few pounds a fortnight, the time and setup costs might not be worth it to you — and that's a completely valid position, especially when you have an axolotl to look after.
But if any of these apply to you, it's worth reading on:
• You have multiple axolotls, and your worm bill is becoming noticeable
• You want a self-sustaining food supply, so you're never caught short
• You enjoy the process — worm farming is genuinely satisfying once it's running
• You want to be more self-sufficient with your animals' food
A 100g pack of live Dendrobaena worms feeds an adult axolotl for a month or 2, depending on feeding frequency and the size of your animal. That's looking at around £50–£80 per axolotl per year. Two axolotls, that's £100–£160.
A home wormery setup costs around £15–£25 to get started — a container, some bedding, a starter colony of worms, and a bag of worm food. After that, the running costs are minimal. Kitchen scraps, cardboard, and the occasional top-up of worm food. The worms breed themselves.
The maths makes sense fairly quickly. Let's look at how to actually do it.
What You Actually Need — The Kit List
Keep this simple. You do not need a specialist multi-tray wormery system to breed worms for your axolotl. You need:
1. A Container
A plastic storage box with a lid — the kind you'd use for under-bed storage — works perfectly. Somewhere between 30 and 60 litres is ideal for a starter colony. It needs to be dark (worms avoid light) and to have ventilation.
Drill or punch about 20 small holes in the lid — roughly 5–6mm diameter — for airflow. That's all the modification it needs. Don't put holes in the bottom; you want to retain moisture. Cost: £3–£8 from a supermarket or hardware store.
2. Bedding Material
This is where the worms live. The best and cheapest option is plain corrugated cardboard — the kind that comes in delivery boxes. Tear it into strips, soak it in water, squeeze out the excess so it's damp but not dripping, and shred it loosely into the box to a depth of about 10–15cm. Although this is perfectly fine, a lot of people dont feel this is right so want to add something else. It's a psychological need, I know I get it myself, so get some cococoir, it's great for bedding, it holds moisture well and creates a good texture. But plain, damp cardboard genuinely works. Don't use soil; it's too dense and compacted for worms to move freely through.
3. A Starter Colony of Worms
This is your founding population — the worms that will breed and produce your ongoing supply. For a 30–60 litre box, start with 100–200g of live Dendrobaena worms. This gives you enough to establish a healthy colony without overcrowding the space early on.
4. Worm Food
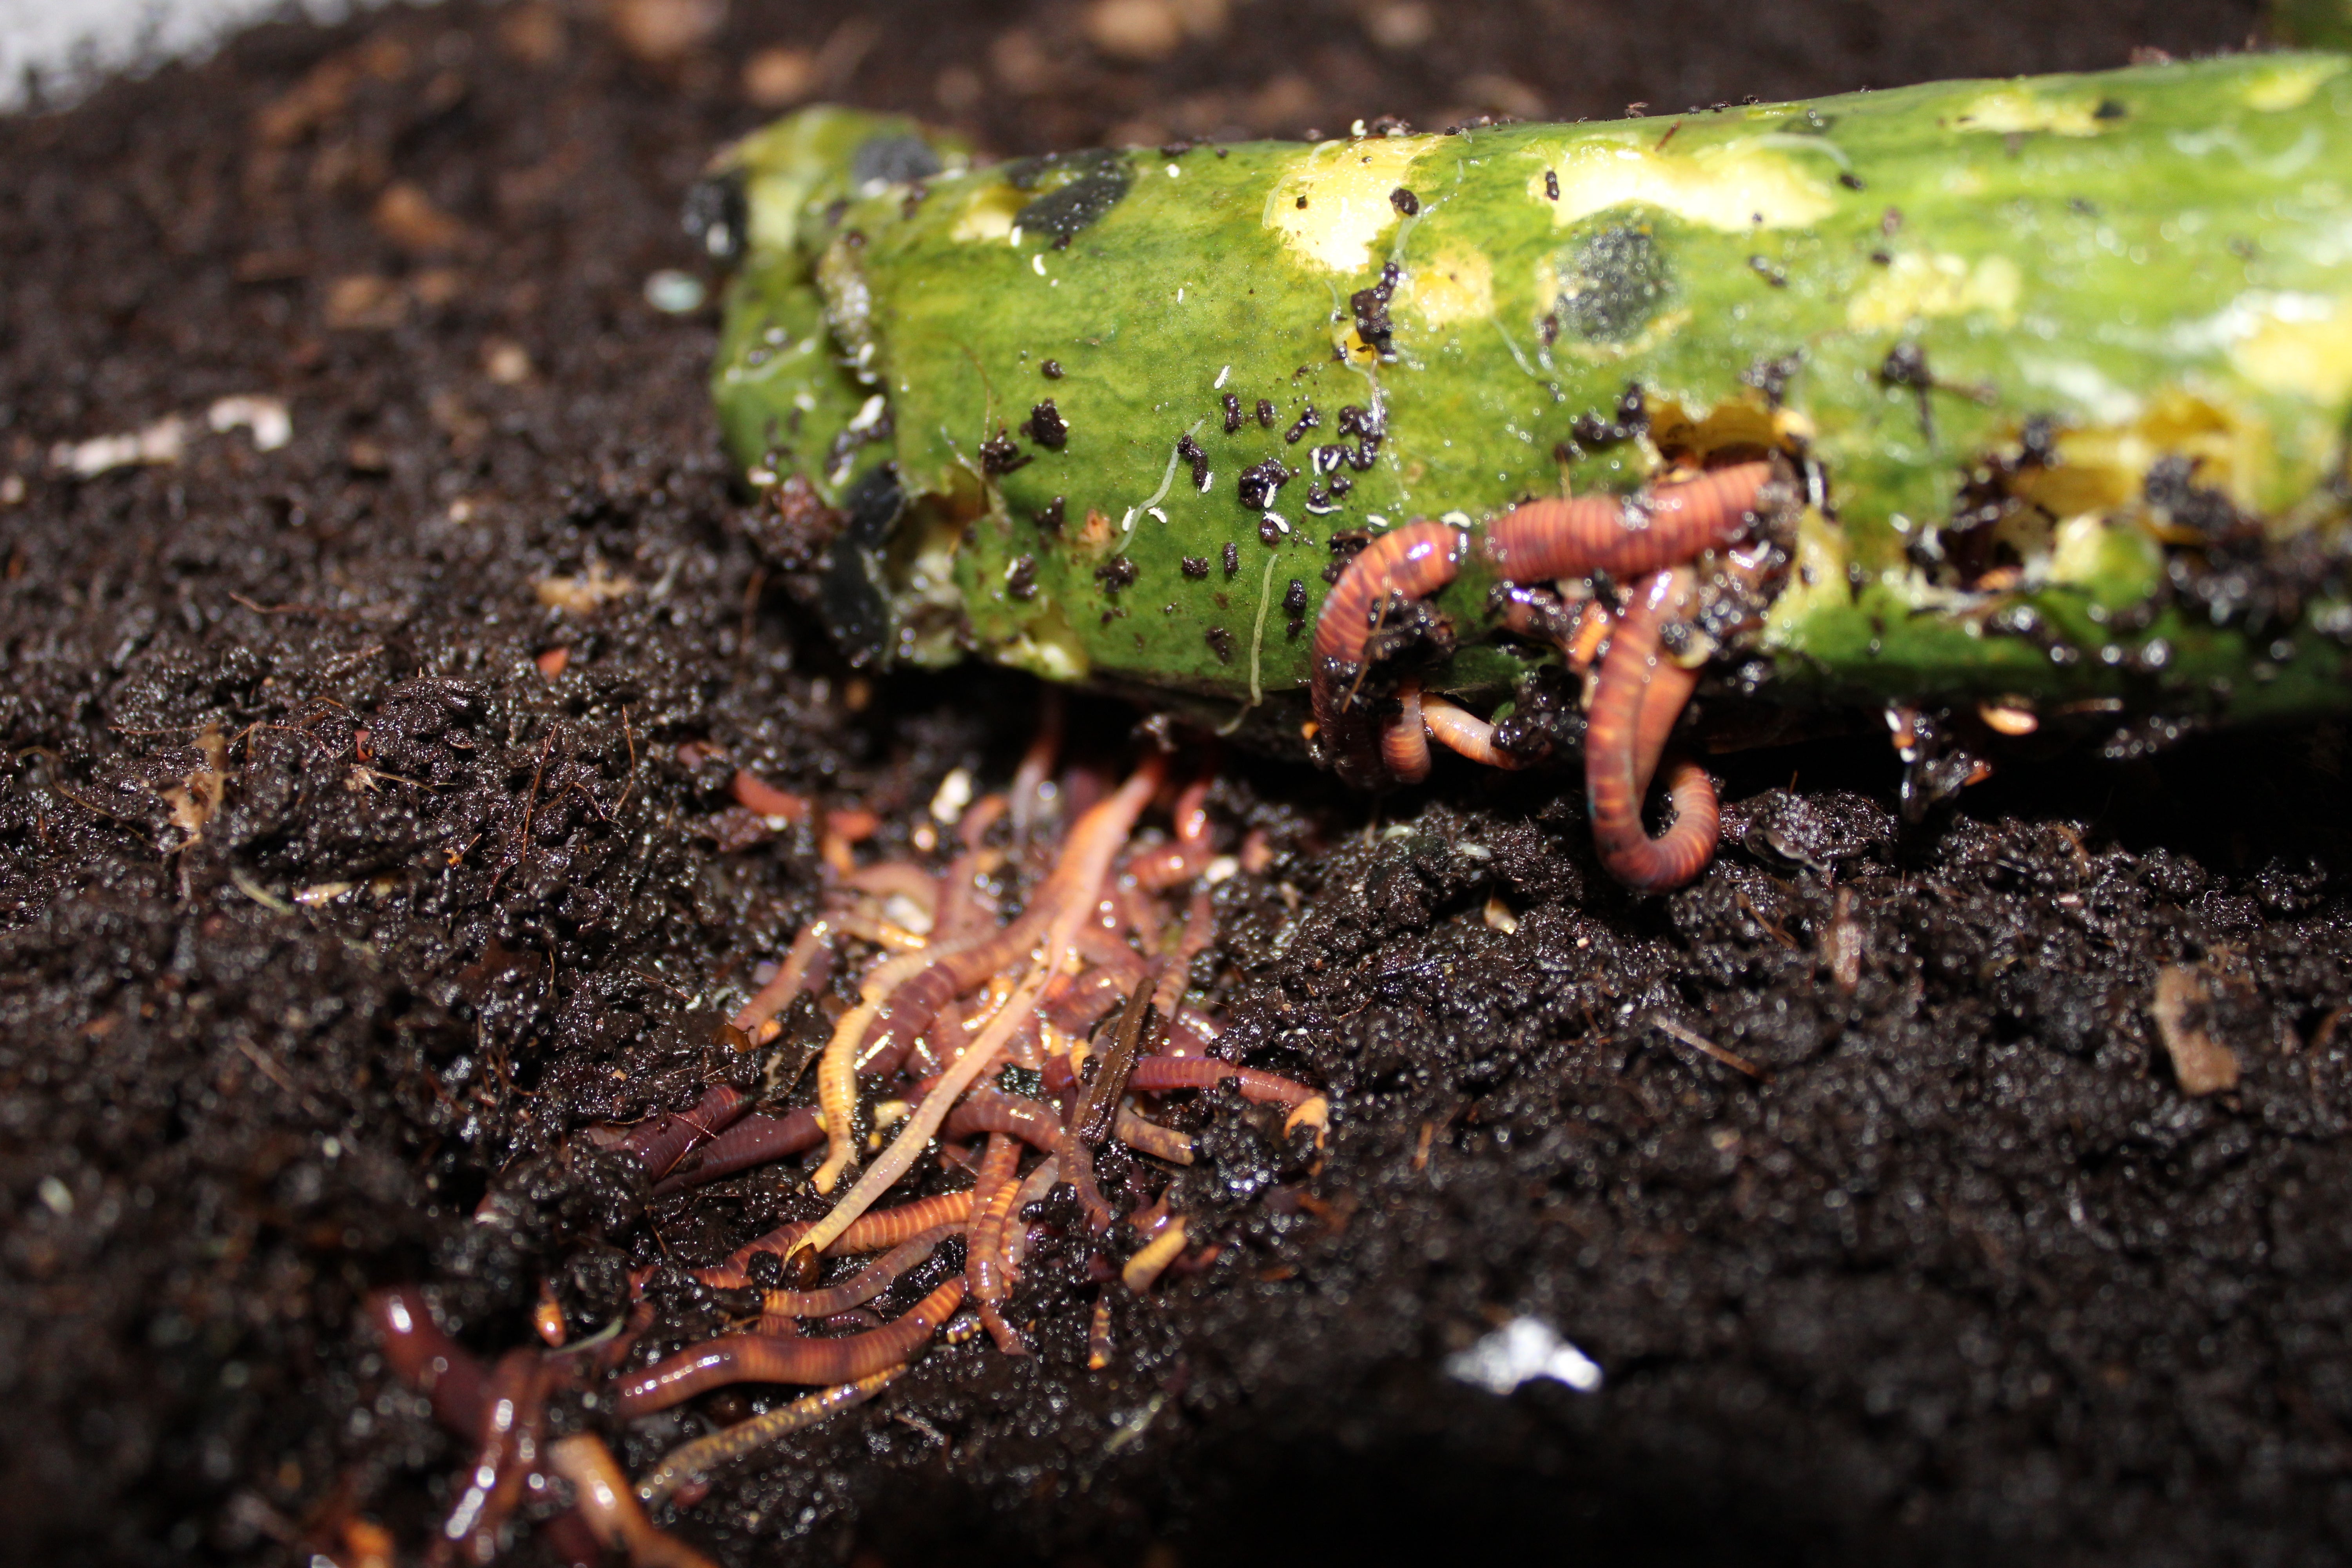
Worms eat organic matter. In nature, that's decomposing leaves, kitchen scraps, and soil bacteria. In a home wormery, you can feed them:
• Vegetable peelings and fruit scraps. Quick tip: cut it into really small pieces or freeze it first.
• Damp cardboard and torn-up egg boxes
• Used tea bags and coffee grounds. Avoid the actual bag for the tealeaves unless it states plastic-free
• Specialist worm food or chow — high-protein blends that fatten worms up faster
The kitchen scraps are free and keep the colony going. But if you want fat, lively worms for your axolotl — the kind with real nutritional density — it's worth supplementing with a proper worm food. A high-protein blend with something like crushed oyster shell to maintain pH makes a genuine difference to the condition of the worms you harvest
Setting It Up — Step by Step
1. Prepare your container. Clean it out, drill ventilation holes in the lid, and set it in a cool, dark place. A garage, utility room, or shaded corner of a shed is ideal. Target temperature: 10–25°C. Above 25°C the worms struggle; below 5°C they slow right down. Around 20°C is perfect, they stay active and busy.
2. Lay the bedding. Fill the box with damp, shredded cardboard to about half its depth. It should feel like a wrung-out sponge — damp but not wet. If water drips when you squeeze it, it's too wet. Add a little dry cardboard and mix it through.
3. Add your worms. Open your worm pack and tip them gently onto the bedding surface. Don't bury them — let them find their own level. They'll work their way down into the bedding within a few hours. Put the lid on and leave them alone for 48 hours to settle.
4. First feeding. After 48 hours, add a small amount of food — a handful of vegetable scraps or a light dusting of worm food across the surface. Bury it slightly into the top inch of bedding. Don't overfeed at this stage; uneaten food rots and can cause problems.
5. Get into a rhythm. Feed every 3–5 days in small amounts. Check the moisture level weekly — the bedding should always feel damp. Add small amounts of dry cardboard if it gets too wet, or mist lightly with a spray bottle if it dries out.
|
MOST COMMON MISTAKE The single most common mistake is overfeeding in the first few weeks. The colony is small and can't yet process large amounts of food. Feed little and often — a small handful every few days — and build up as the population grows. |
The Timeline — What to Expect and When
This is the bit most guides gloss over. Here's the honest version:
|
TIMEFRAME |
WHAT'S HAPPENING |
|
Days 1–7 |
Settlement period. The worms are adjusting to their new environment. Some may try to escape in the first night or two — this is normal. Keep the lid on. They settle down once they're comfortable. |
|
Weeks 2–4 |
The colony is eating and exploring. You'll notice the bedding starting to break down. Feed regularly. No harvesting yet — let the population stabilise. |
|
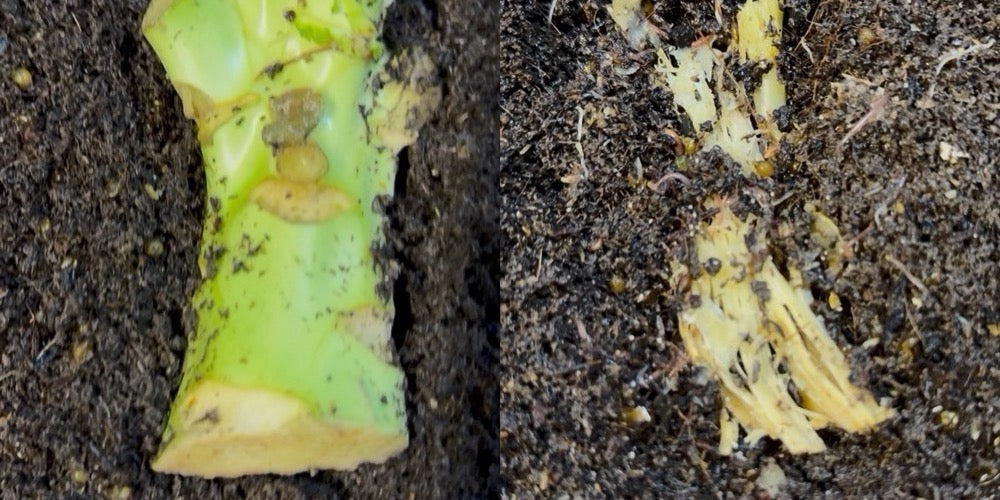
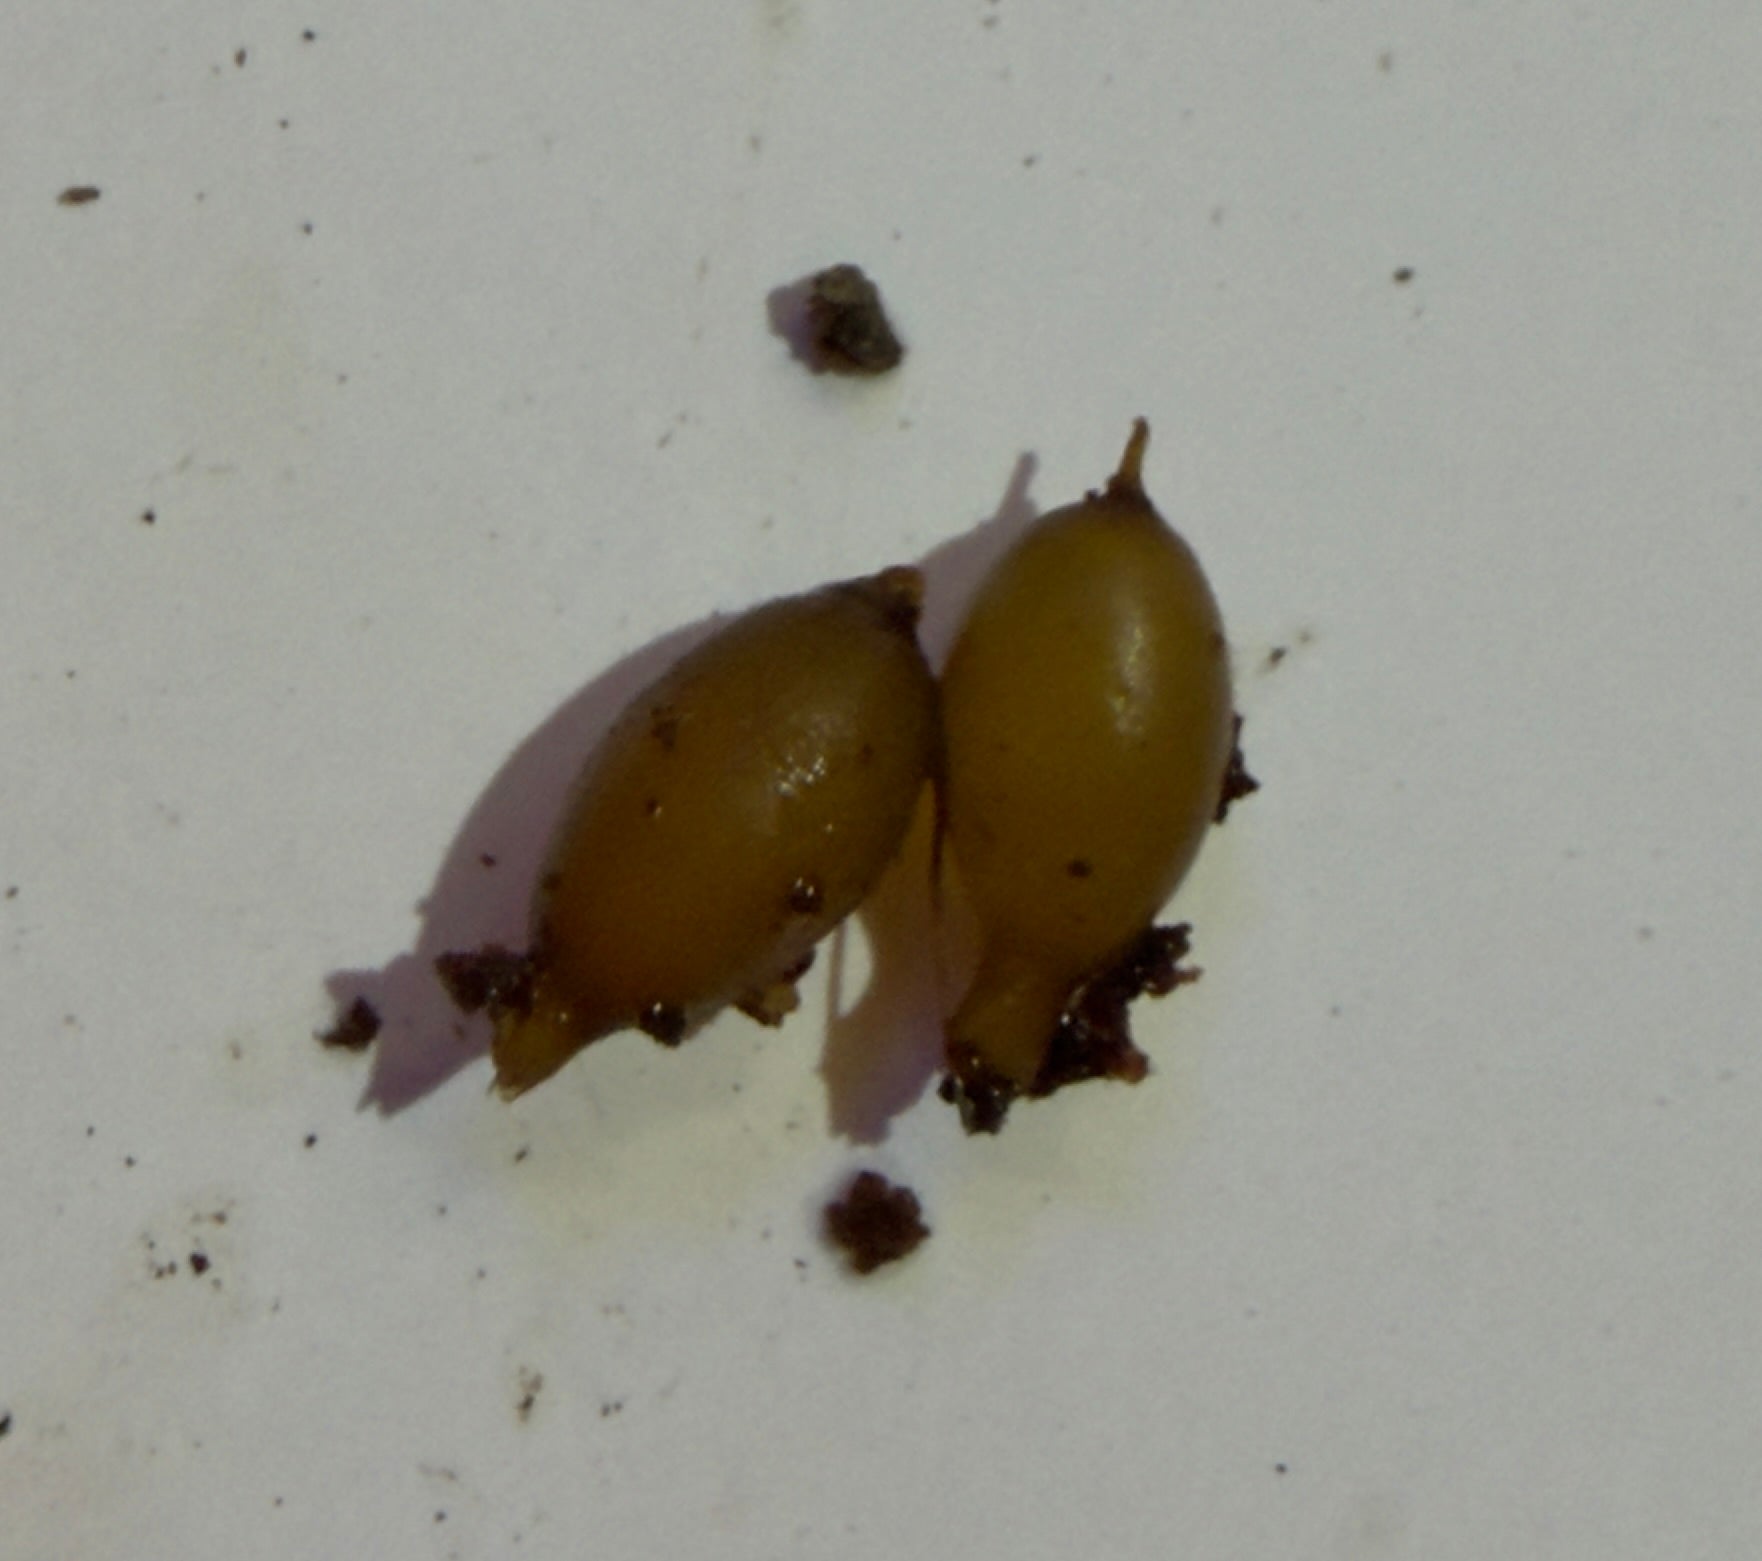
Weeks 4–6 |
Cocoon production begins. Dendrobaena worms produce cocoons (tiny lemon-shaped eggs) that contain a baby worm each. You might see them in the bedding — small, yellowish, about 2–3mm long. This is the sign that things are working. |
|
Weeks 6–10 |
Baby worms hatching. The population is growing. |
|
Month 3+ |
Established colony. If conditions are right, you should have a growing population, but they will all be small to start with. Keep feeding, keep moisture levels right, and the worms do the rest. |
What To Do While You're Waiting
Here's the honest truth that nobody selling a self-sufficiency dream will tell you: for the first few months, you will still need to buy live worms for your axolotl.
The colony needs time to establish. You cannot harvest from a young colony without damaging it. Taking too many worms too early is the number one reason home wormeries fail — the population collapses before it ever gets self-sustaining.
So during the establishment period, feed your axolotl as normal from bought worms, and let the wormery do its thing undisturbed. Think of it as planting a vegetable garden. You don't dig up the seeds to check on them.
Once the colony is established, you'll find a natural rhythm — supplementing your home harvest with bought worms during quieter breeding periods (cold spells slow things down), and relying more heavily on the wormery when it's producing well.
Most experienced wormery keepers end up doing both. The wormery significantly reduces the cost; it rarely eliminates it entirely. And that's fine. The goal is to save money and have a more reliable supply — not to achieve total worm independence.
Troubleshooting — The Most Common Problems
Worms are trying to escape
Normal in the first 1–2 days as they settle. If it's happening after that, something is wrong with the environment — usually too wet, too warm, or a food source that's rotting and producing ammonia. Check moisture levels, remove any food that's gone off, and give the bedding a good mix up.
The bedding smells bad
This almost always means overfeeding. Rotting food produces ammonia, which drives worms to the surface and can quickly kill a colony. Remove any uneaten food, add dry cardboard to absorb excess moisture, and reduce feeding frequency. A healthy wormery should smell earthy — like soil after rain. Not like a bin.
The population isn't growing
Check the temperature first — if the wormery is below 10°C, the worms slow right down and reproduction nearly stops. Move it somewhere warmer. Also, check you're not overharvesting — taking too many worms too often prevents the population from growing.
I can see tiny white mites
Mites are common in wormeries and mostly harmless. They're decomposers, just like the worms. You may see them all over a worm if it's dying. Many people believe they have killed the worm; this isn't true. They are just doing their job. If the bin gets too wet, the mite population can explode; it usually drops on its own once conditions improve.
|
SPECIES NOTE You may hear that Dendrobaena worms are tougher and more resilient than Eisenia fetida (red wigglers) in a home wormery context. I have not found this to be the case; in my experience, Eisenia fetida are actually the more resilient composting worms; they handle waterlogging and food variations much better but Dendrobaenas are bred for size, which makes them far easier to harvest and a much better meal for your axolotl.
|
How to Harvest Without Damaging the Colony
Once your colony is established, you can start taking worms for feeding. The key is restraint — never take more than you need, and never take so many that you visibly reduce the population.
The simplest method: move the bedding to one side of the box and add fresh food to the empty side. Over the next 24–48 hours, the worms migrate toward the new food source. You can then scoop from the depleted side where worm density is lower — you get worms without disrupting the main colony.
Rinse harvested worms briefly under cool water before feeding — this removes any bedding residue and, as any experienced axolotl keeper knows, washes away the natural secretion that some axolotls find bitter.
|
New to the rinse trick? Read our full axolotl worm care guide for feeding tips. → wormi-vermi.co.uk/blogs/news/storing-worms-for-axolotl |
The Bottom Line
A home wormery for your axolotl is genuinely worth doing if you have the patience to let it establish properly. It's low-maintenance once it's running, it saves real money over time, and there's something quietly satisfying about knowing your axolotl's food is coming from something you built yourself.
Start small. One box, a 100–200g starter colony, some damp cardboard, and a bag of worm food. Leave it alone for six weeks. Check on it, feed it, keep it damp. Then come back and see what you've got.
You might be surprised how quickly it becomes one of those low-effort, high-reward parts of keeping your animal.
|
Ready to get started? You'll need a starter colony of live Dendrobaena worms and some worm food to get them fat and breeding quickly. Both are available from Wormi Vermi — grown in Huddersfield, Yorkshire. Starter colony: wormi-vermi.co.uk/products/axolotl-worms Worm food: wormi-vermi.co.uk/products/worm-food |