Basket
0
There's a moment, usually somewhere around midnight after a deep dive into wormery reviews, when you start doing the maths and think: this is going to cost me a fortune. Stacking tray systems from the big brands. Starter kits. Moisture monitors. Worm blankets. It all adds up, and before you've bought a single worm, you've spent £80 on a plastic box.
The worms don't care about the box. They care about moisture, temperature, food, and airflow. Give them those four things, and they'll thrive in almost anything. I've been farming worms commercially in Yorkshire for years, and some of the most productive setups I've come across were built from a couple of old storage boxes and a bag of cardboard from the recycling pile.
This is how you do it properly, without spending money you don't need to spend.
What You Actually Need
Strip it right back. Here's what genuinely matters:
- Two containers with some airflow
- Bedding material — cardboard mostly
- Composting worms
- Kitchen scraps
- A dark spot that doesn't freeze in winter
No moisture meters. No worm blankets to start with. No pH kits. Two boxes and some worms. That's the whole thing.
The Two-Bin System: Simple, Effective, Free to Build
Forget the stacked tray systems for now. The simplest setup that actually works long-term is two identical bins running side by side, not on top of each other.
Get two plastic storage boxes, each around 30 to 60 litres or bigger if you fancy the work. Drill a ring of holes around the upper sides of each one for ventilation. That's your modification done. No drainage holes needed in a well-managed bin — if you're getting leachate dripping out, the bin is too wet. More on that in a moment.
You start with Bin One. Fill a couple of inches of bedding, add your worms, and begin feeding. You work this bin for several months, adding food and cardboard regularly, until it's nearly full of finished compost. Then you set up bin 2 beside it with fresh bedding and the top few inches of the old one, as this will contain most of the worms. You then start feeding exclusively into it.
After a few weeks, the material left in bin one is mostly finished vermicompost, ready to harvest for your garden. Scoop it out, spread it on your beds, and start the cycle again. You never need to sort worms from compost by hand. You just move the food and wait.
Carbon Is Not Optional
This is the bit most beginners get wrong, and it causes more problems than anything else. Every time you add food scraps to your bin, you need to add dry carbon alongside it. Cardboard, shredded newspaper, dried leaves. Cardboard is the easiest because you've almost certainly got a pile of it from deliveries.
Tear it into strips or rough chunks. You don't need to shred it finely. Layer it over every feeding, or mix it through. Or make a little food sausage roll with the cardboard and scraps. The carbon absorbs excess moisture, balances the nitrogen from your food scraps, and gives the worms somewhere to move through. Without it, the bin gets wet and compacted, starts to smell, and becomes the kind of thing you'd rather not think about.
A properly balanced bin, with sufficient dry carbon added alongside the food, will not produce leachate. If liquid is pooling or dripping, that's a sign the carbon balance is off. Add more cardboard, ease off wet food for a week, and it'll sort itself out.
Cardboard is free. Make the most of it.
Getting Worms Without Paying for Them
You can source worms for free if you're willing to be a bit resourceful. Two options worth trying before you spend anything:
Facebook groups. Search for UK composting, allotment, and worm farming groups. People often split off excess worms from established bins and are happy to give them away or swap them for something. A post asking if anyone has surplus composting worms in your area will usually get a response within a day or two. It's worth trying.
Your own garden. If you've got a decent garden with good organic matter in the soil, you can bait worms out of it. Lay a sheet of cardboard or damp hessian on the surface of a bed, leave it overnight, and check underneath in the morning. You'll find worms gathering beneath it. Collect them, check what you've got, and if you've found composting worms rather than deep-burrowing earthworms, they'll work in your bin. The worms you want are smaller, active, often reddish, and found in the top few centimetres of soil in rich, organic areas — under a compost heap, in a raised bed with lots of matter in it, under rotting logs. They're there if the conditions are right, but it takes patience, and you'll build your population more slowly than if you start with a bought quantity.
If you want to skip all of that and just get going, a starter pack of Dendrobaena worms or Eisenia fetida from us will arrive live, healthy, and ready to work. For most people, it's the fastest way to a functioning bin.
Feeding: What to Add, and One Trick That Makes a Real Difference
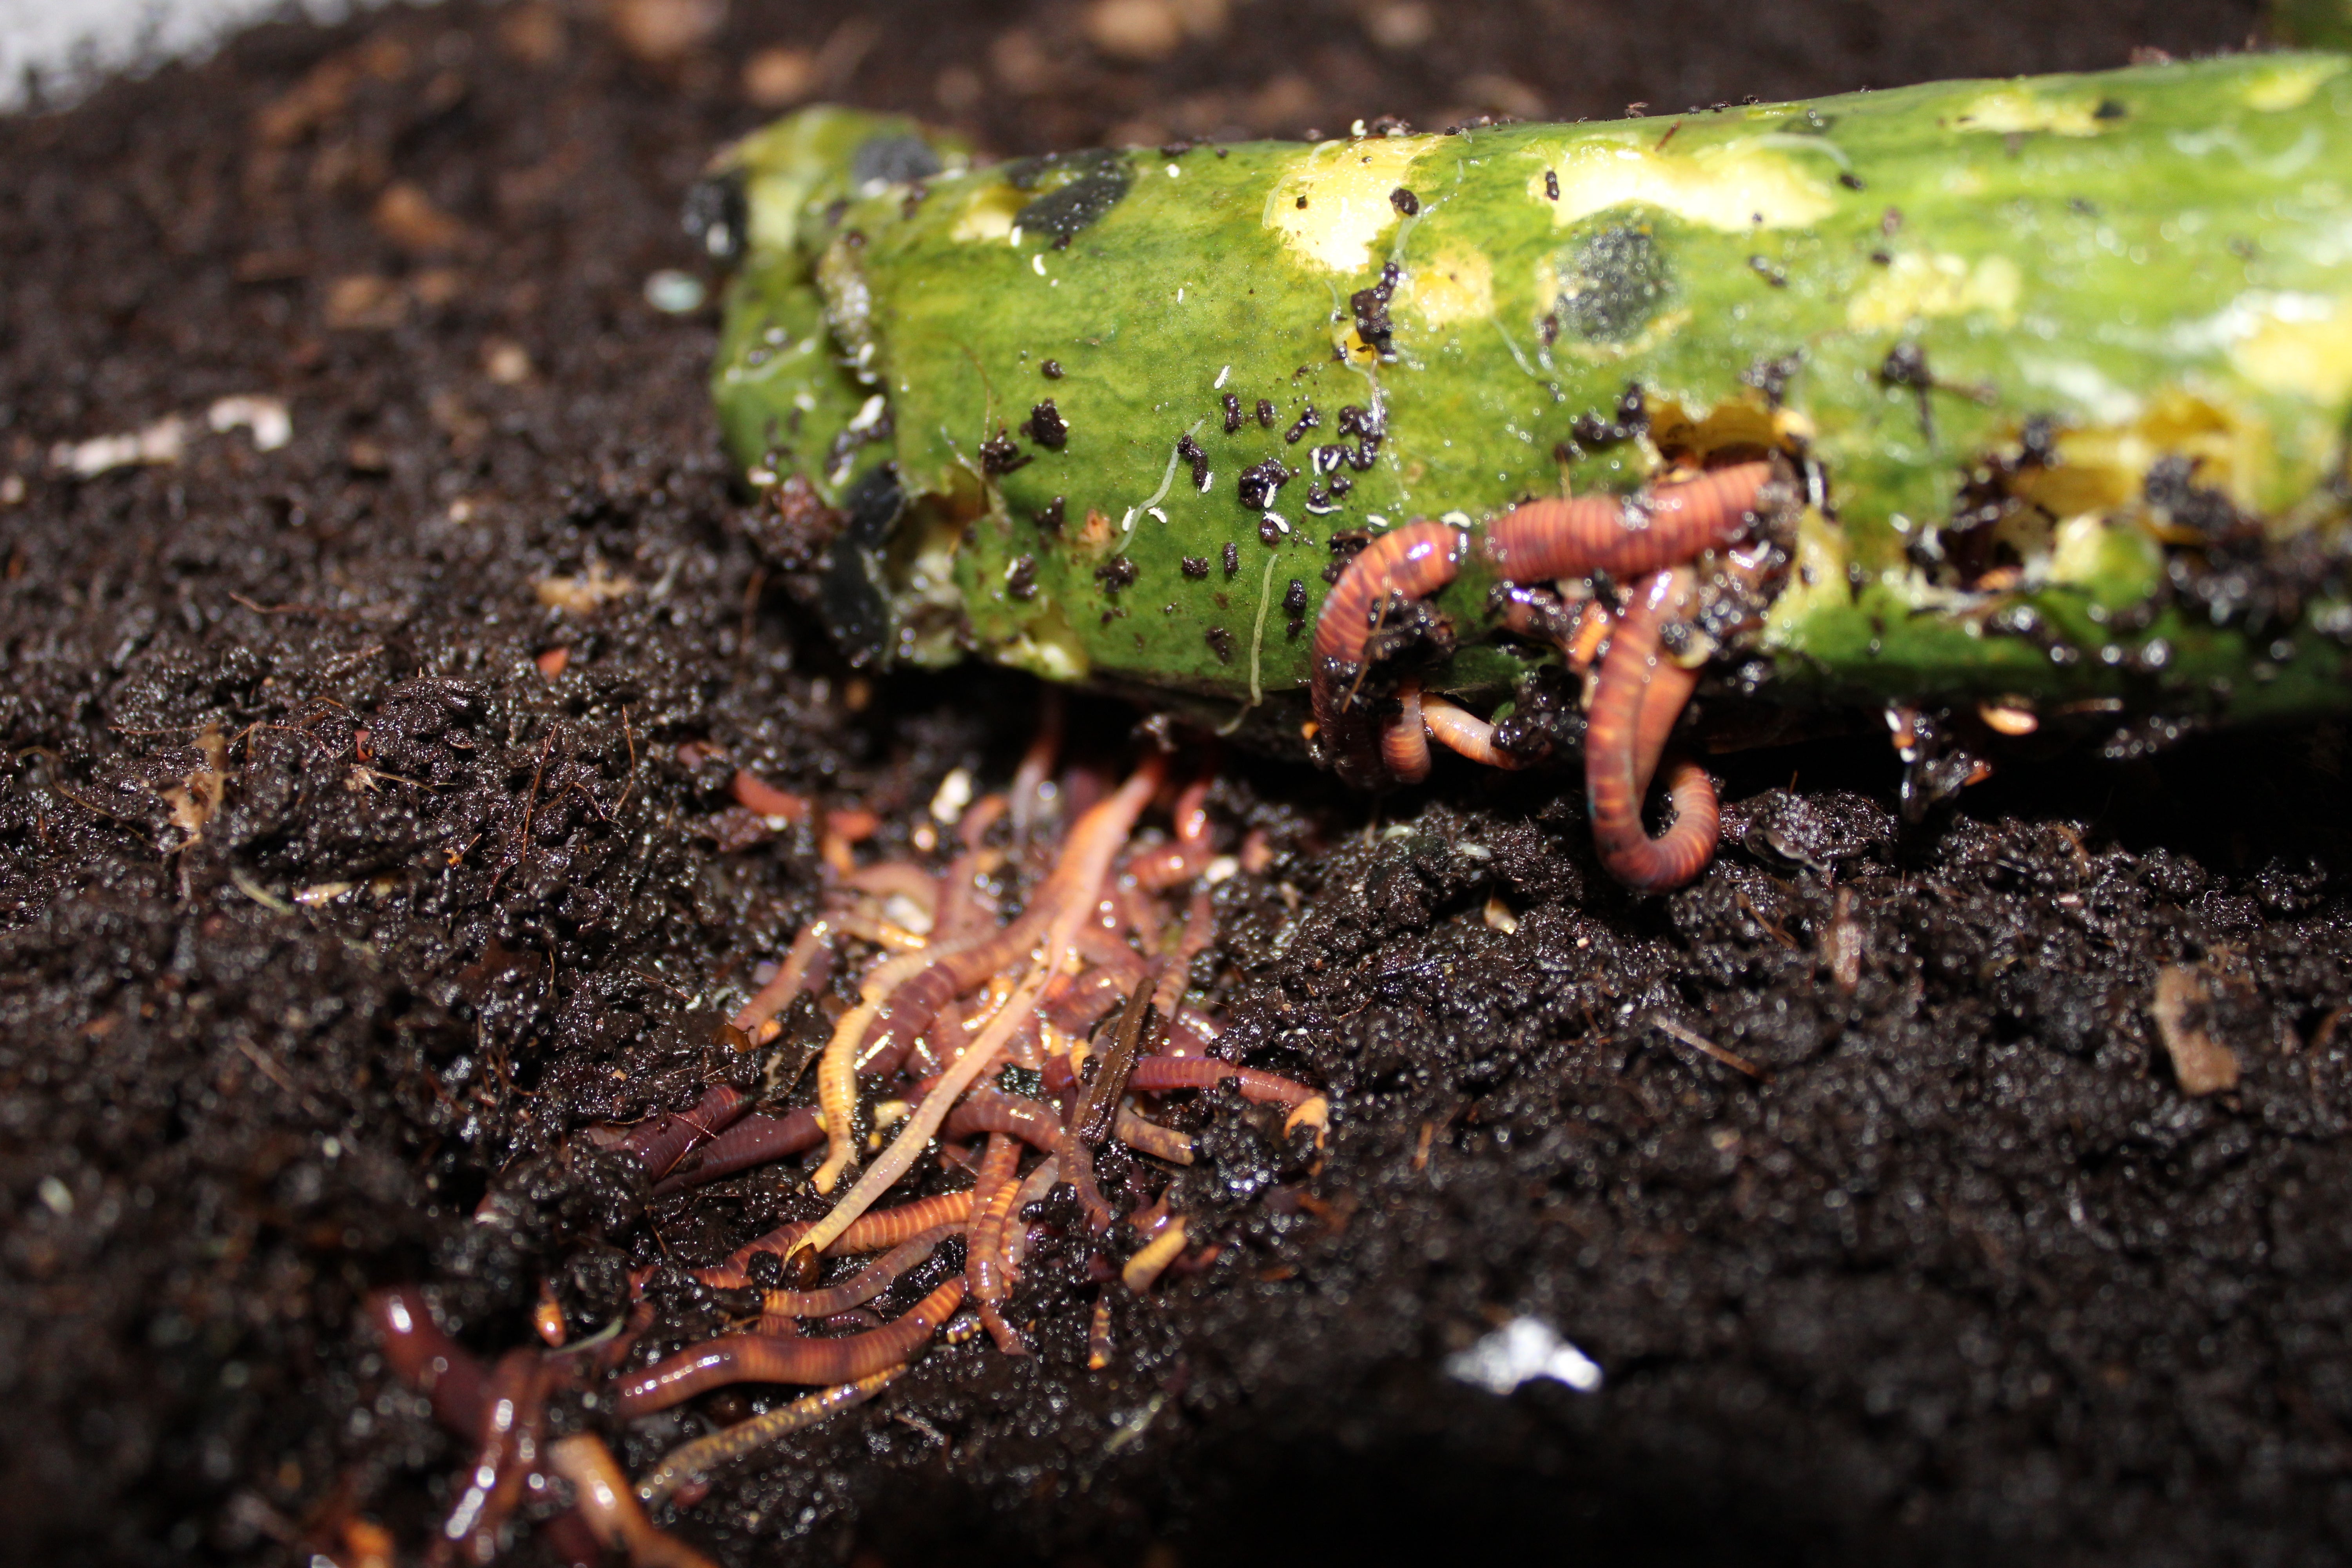
The basics: vegetable peelings, fruit scraps, coffee grounds, used tea bags, shredded cardboard, torn newspaper. All good. Meat, fish, dairy, cooked food with sauces or seasoning, oily or heavily processed food can go in, but can attract pests, and for a beginner, I would say leave them out, we hot compost all that kind of stuff first before it goes to the worms, to make sure its breaking down quickly. Bury each feeding under a layer of fresh bedding rather than leaving it on the surface — this keeps flies away and helps keep the smell down.
The one tip that actually makes a noticeable difference to how fast your bin processes food: freeze your scraps before adding them. Chop your vegetable peelings and fruit waste as small as possible, then stick them in a freezer bag, freeze them solid, then defrost before adding to the bin. Freezing ruptures the cell walls in the food, which means it breaks down much faster once it's in the bin. Worms don't have teeth. They're eating the microbes that break down the food as much as the food itself. Give those microbes a head start, and your bin works faster and more efficiently. It also means you can batch up scraps over a week rather than adding small amounts daily.
One thing that can help, though it's not essential, and I don't bother doing this: crushed eggshells added occasionally. They break down slowly and provide a bit of calcium that helps worms process food. Rinse them, dry them, crush them roughly, and add a handful every few weeks. Free if you eat eggs.
Where to Keep It and How to Handle Winter
Composting worms work best between 15°C and 25°C. Below 10°C they slow right down. Below 4°C for any extended period, and you risk losing them. In practice, for most UK homes, that means a garage or shed is fine from spring through to autumn, but you'll need to bring the bin inside or insulate it properly once temperatures start dropping in October. I actually leave my 2 outside year-round and never have issues, so don't overthink it too much.
In summer, shade is your friend. A bin sitting in direct afternoon sun on a warm July day can overheat fast. Move it to a sheltered place, dampen the bedding if it's drying out, and keep the lid on.
Harvesting Your Compost Without Any Special Equipment
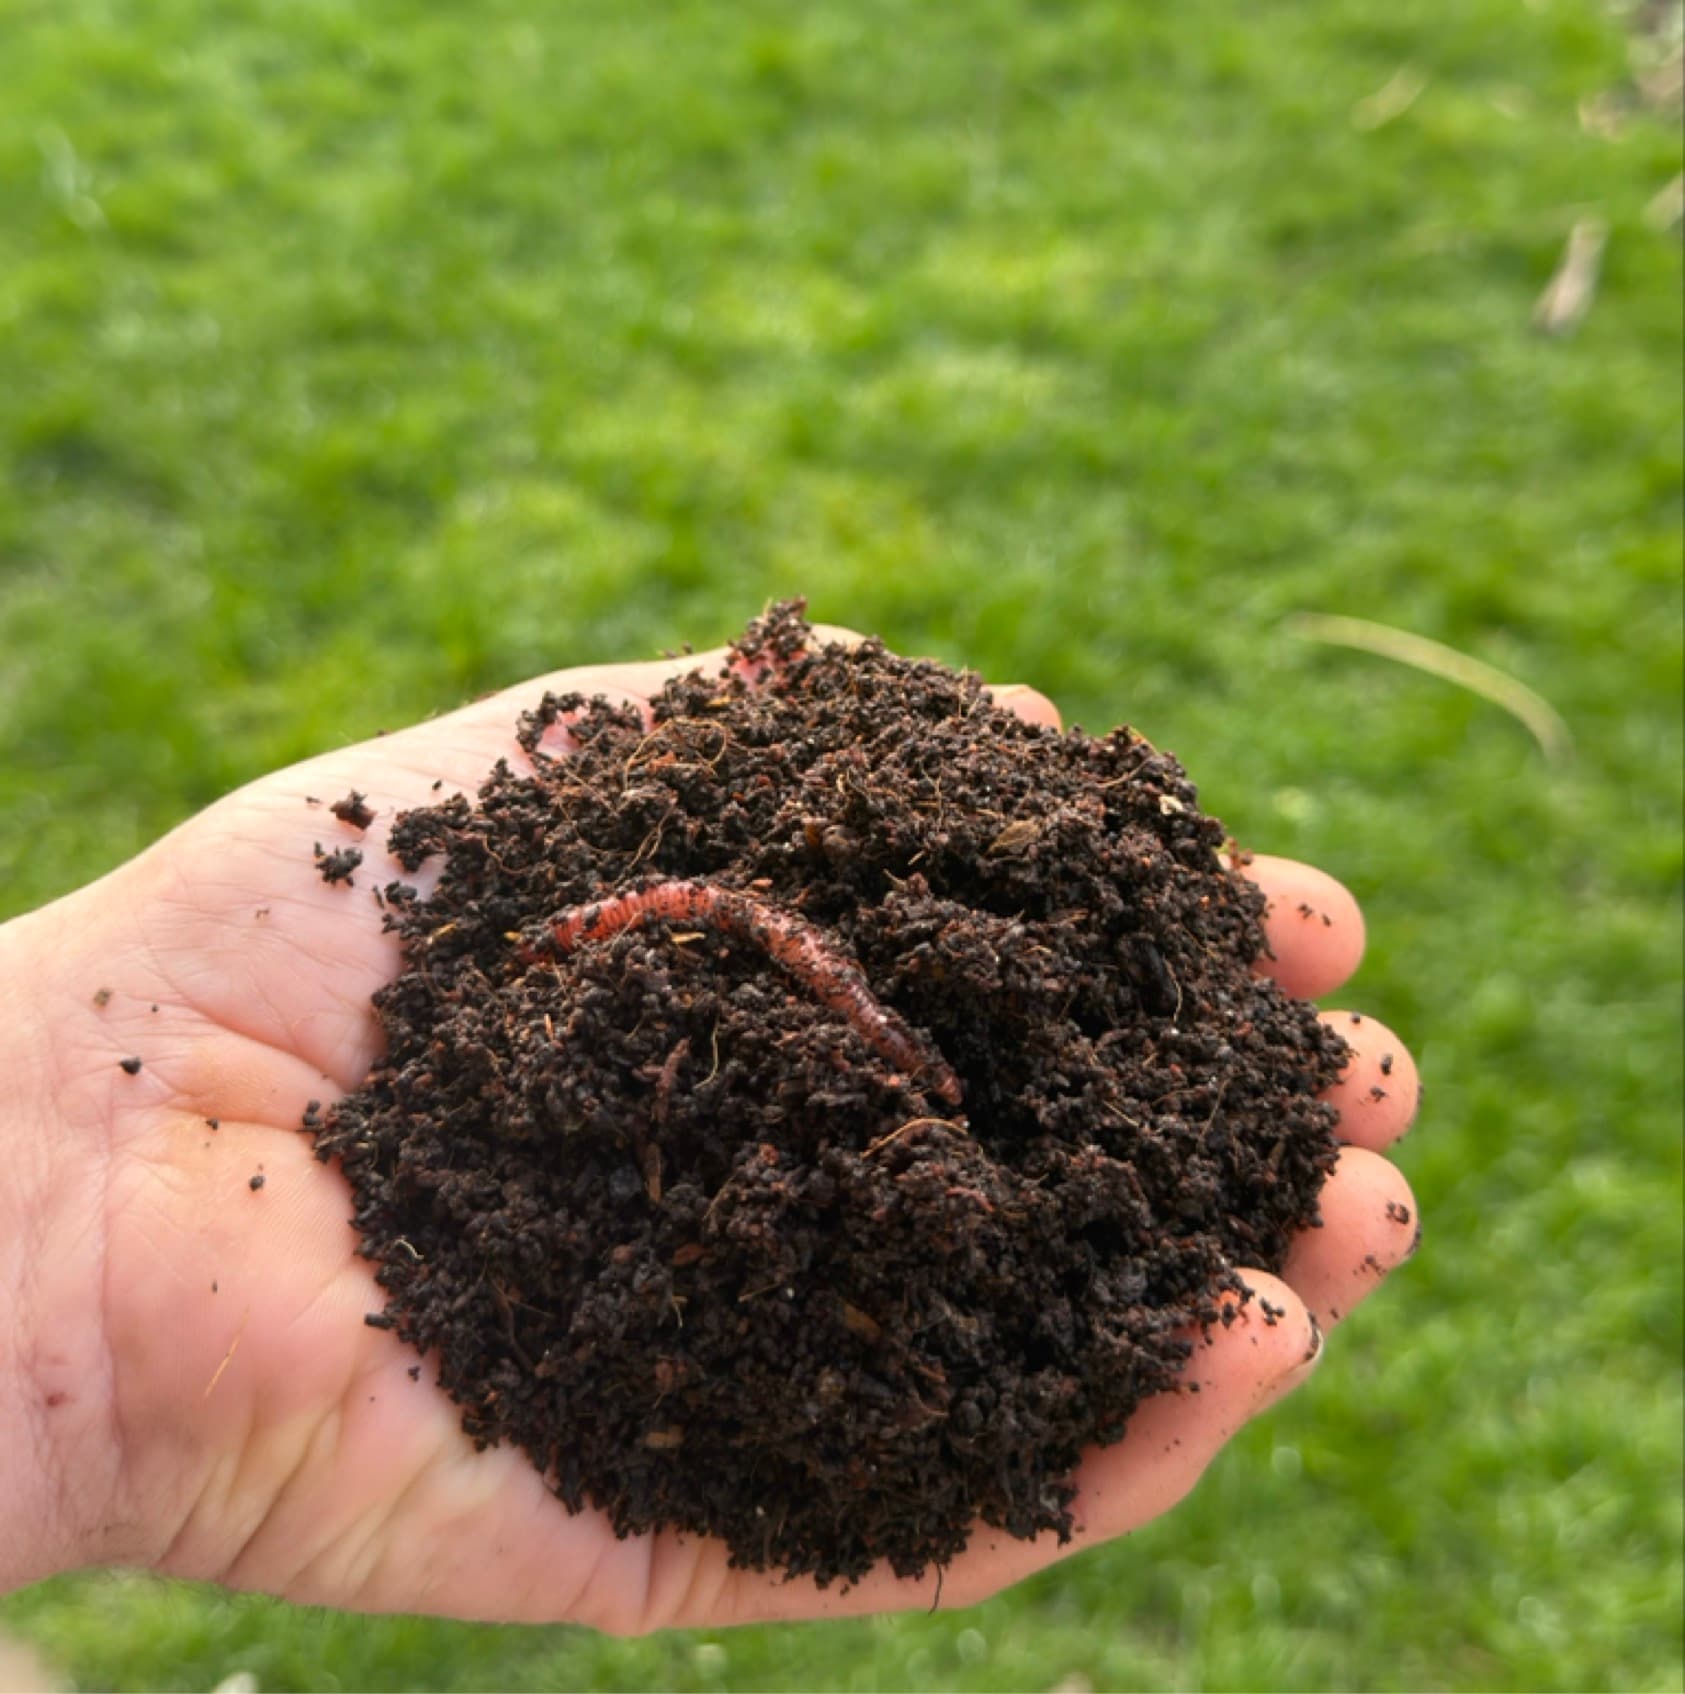
After a few months in bin one, you'll have something dark, crumbly, and earthy-smelling where the bedding and scraps used to be. That's vermicompost, and it's genuinely excellent stuff.
The migration method described above — moving food to Bin Two and letting the worms follow — is the easiest harvest approach and costs nothing. If you want to speed it up, the light method works well too. Tip the contents onto a tray or sheet in a bright spot. Worms will burrow away from the light. Scrape the top layer of compost off every few minutes, working down until you've got a pile of worms at the bottom. They go back in the bin with fresh bedding. The compost goes on your plants.
30 minutes. No equipment. Done.
The Real Numbers
Two storage boxes from a discount store: £8 to £10 total, or £0 if you've already got them.
Bedding: £0. Cardboard from your deliveries.
Worms: £0 if you find them locally or via a Facebook group. £15 to £25 if you buy a starter pack.
Food: £0. Your kitchen waste.
Ongoing costs: £0.
Total outlay: somewhere between nothing and £35, depending on how you source your worms. In return, you get a continuous supply of vermicompost that outperforms most bagged options, and your kitchen waste stops going to landfill. The worms pay for themselves inside a season.
Any questions about which species to go for or how to set up your system? Get in touch — happy to help.